Showing posts with label painting. Show all posts

Sunday, October 6, 2013

Fall acorns

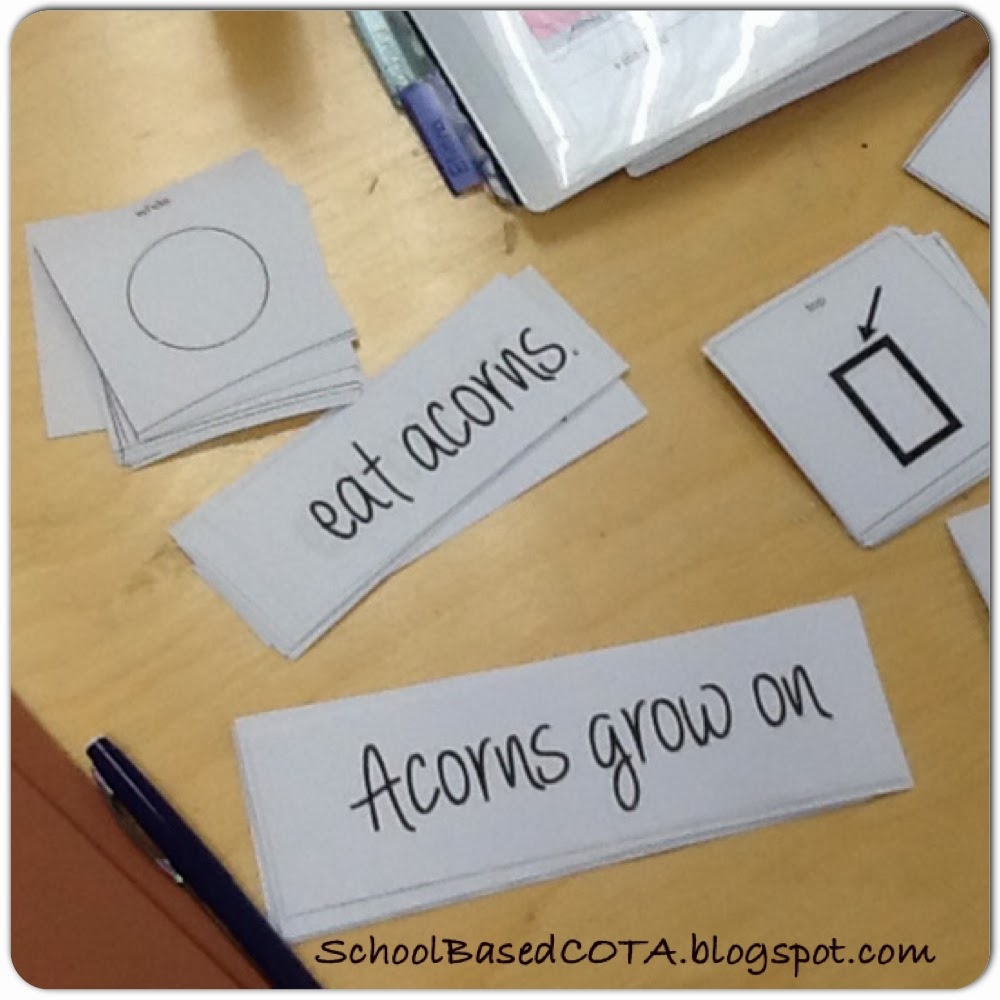
Last week in therapy we continued with our fall theme.  Our speech therapist found these great acorn templates, and we did this activity with a fun twist.....


First, we had our students use a glue stick to glue the acorn template to a piece of brown construction paper.  Next, we used liquid Elmer's glue to squeeze glue on the top (shell) portion of the acorn.  We used a paintbrush, and with hand over hand assistance, we spread the glue (using terms related to what speech was working on...left/right, top/bottom, etc.). 


Now comes the fun part....to "paint" the top we used vanilla pudding.  We were thinking of different ways to make it easy for our Intellectual Disability students to apply the pudding.  I came up with using a "honey bear" bottle to shake and pour the pudding (the bear was a good size for our students to wrap their hands around)......It worked great!!  The opening at the top was big enough that it came out easily...not too much and not too little...and it didn't get clogged!    There was definitely extra so we had to shake the excess off. 
 
After each student applied their pudding we had them smell it from the bottle (this was good that it was in the bottle too....they couldn't get messy trying to touch it, and we only had to lightly press the bottle for the scent to come out).  Most of the students loved the smell!!
 
 
After each student had a turn with the pudding, we moved to the bottom of the acorn.  For this part we used coffee!  What a different smell for our kids.  Some of our older kids with a little more language were able to identify the coffee by the smell!  So cute!


For the language piece Denise used concepts like top/bottom, left/right, as well as colors we used to paint the acorns; brown/yellow. 


Finished Project!! 
 
 
I really like this project....it wasn't messy and the smell was a fun spin!  The speech therapist and I like to use materials to paint that are smell related for our students (as long as we make sure there are no allergies).  Some scents we use may be new to them, others they have smelled before! 
 
This was a fun activity that we modified for our students.  We kept the "painting" minimal and interesting by adding the scent aspect.  This activity was really easy too, because there weren't a lot of materials needed (many of which one of us had at home)! 
 

Painting in a box

This was a fun activity the art teacher at my school came up with to do with our students......(I also saw this on Pinterest using a small, square cake pan and marbles).  We used ping pong balls and six different colors of paint in cups.  We dropped the balls in the paint and using tongs we helped our students scoop them out and place them in the box to create their masterpiece.  We had them hold the box on either side and shake it left and right, and then up and down, to totally fill the paper with the paint.  I think the turned out really nice......

the art teacher had a great idea for keeping the cups of paint organized and prevent tipping.  He put them in a plastic bin....it made it easy to bring the colors to each student and 6 colors fit perfectly!
 
our students were having so much fun during this activity that only a few required hand over hand assistance.  Once we showed them how to do it, they all participated really well. 
 
finished project, aren't they awesome....


Saturday, September 28, 2013

Apple Tree craft


This week in therapy, the Speech Therapist, Denise, and I made this cute apple tree activity that she found on an awesome crafty website.  We modified it a little to do with our 3 Intellectual Disability (ID) classrooms.  We also decided to make one big tree per classroom, because of how difficult it would be to have each student make their own (we didn’t have enough staff to help with this and these students require hand over hand assistance)….plus it might get a little messy!


Supplies needed:
·        Red and green Tempera paint (and containers for the paint)
·        Green construction paper (for the tree)
·        Brown rough paper (or brown construction paper for the tree trunk)
·        One apple (cut in half)
·        Short handled forks or handles for the apples
·        Pictures of items on list for student to choose from (optional)


To begin, the speech therapist made the tree top out of green construction paper and the tree trunk out of brown corrugated cardboard from the art room (our art room has a lot of great supplies) and the art teacher lets us raid it whenever we need something for our students!!  :)
 
 
Next, Denise cut an apple in half and this is what we used to “stamp” the apple print on the tree.  With our first class we had the red and green Tempera paint in shallow, round, plastic containers barely bigger than the apple.  This made it very difficult for our students to pick up the apple, hold it and then stamp it.  They already have hand use difficulties and this was just making it harder for them.  After trial and error with our first class, we found some adapted forks with shortened “chunky” handles that we poked into the apple halves; this made it a lot easier to get the apple out of the paint, and for our students to hold and stamp the tree. 

  For this craft we decided to incorporate a fall scent to add some interest for our students.  After every student had a choice stamping the apple on the tree, we passed around a bottle of cinnamon for them to smell and then sprinkle on the stamped apples.  I tried to find an apple scent Jell-O but couldn’t find any :(.  Our students really liked the cinnamon scent and it was fun to watch them try to sniff it; one student even stuck his tongue out because he wanted a taste :)

 
finished project :) 


For this activity it was great to co-treat with the speech therapist because not only did we work on fine motor and hand use skills, she was able to target comprehension wh-questions with this activity.  She printed out pictures to answer these questions (red/green, bumpy, apple tree/apples) that the student had to choose from.
 
This was a really simple activity and a lot of fun to do!

I hope you try it with your students!


Monday, September 23, 2013

Fall Apples

Good Monday morning,

So, with Fall in the air (well, on some days....last week we had temperatures in the 90's) I decided to do an apple activity with my younger Intellectual Disability classes.  At my schools, the kids learn about Johnny Appleseed so it ties into their curriculum!  

Most of the kids in this class are working on various hand-use skills and tool use.  This activity incorporated cutting, painting, as well as making choices for colors.

For this activity the materials you will need are:
  • paper plates
  • black sharpie
  • scissors
  • red and green paint
  • paint brushes
  • pre-made apples from Ellis Press
  • pencil
  • glue sticks
  • pre-made printed names of student (unless they can write their name)
 
first I drew a curved line for the students to cut along.....some students practiced cutting one side and because of time the teacher or myself cut the other side.
 
next the student decided which color they wanted for their apple....red or green of course.....the green looks like black, because....well....it is
(the teacher assistant discovered this after we had already started)...oops
 

next the student pointed to which color they had painted their apple, and glued down the pre-made color apple.  This worked well on incorporating some of their language goals as well...and the teacher was able to collect data on it too!


finally they added seeds using the eraser end of a pencil...dipped in black paint.
they glued down the apple core, and then from a choice of two they chose their name and glued that down! 

This activity incorporated so many fun elements and the kids really seemed to enjoy their finished product. 

Enjoy!

Please leave any questions or comments below....

Happy blogging :)